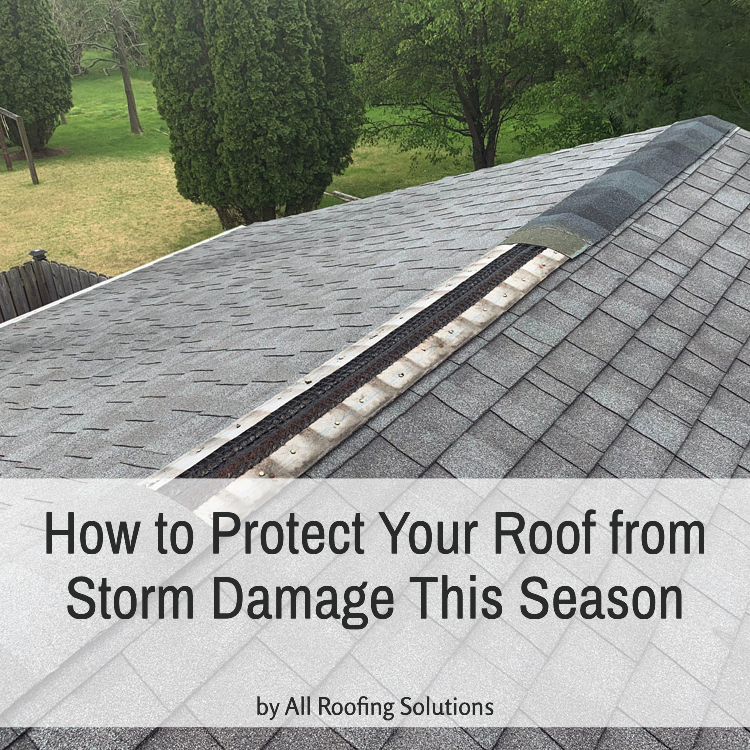
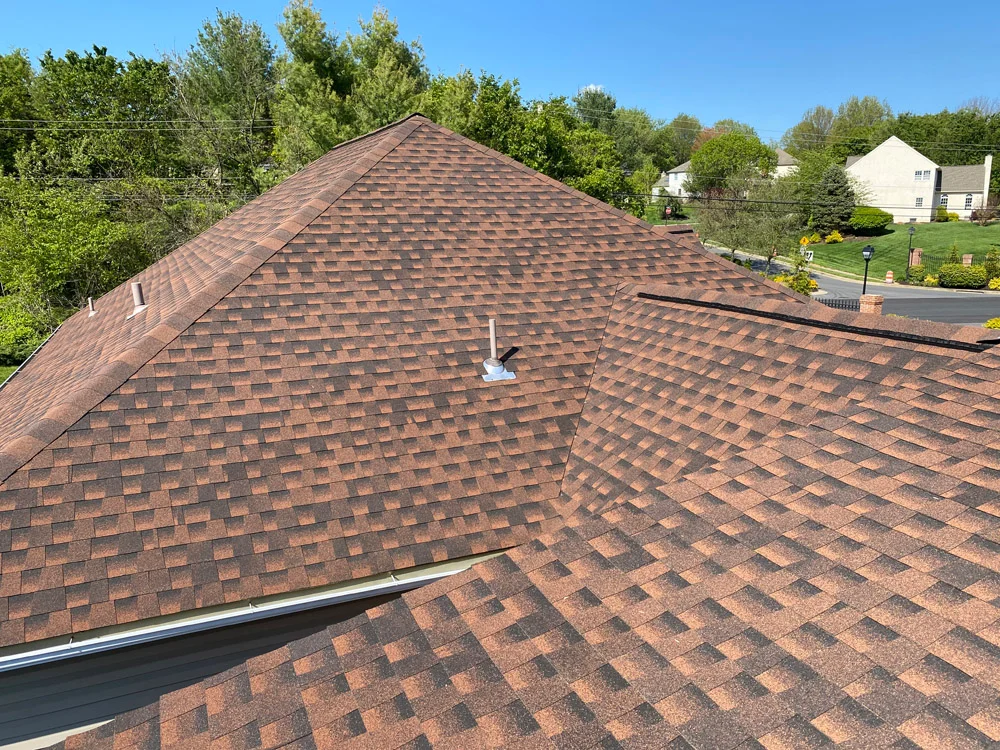
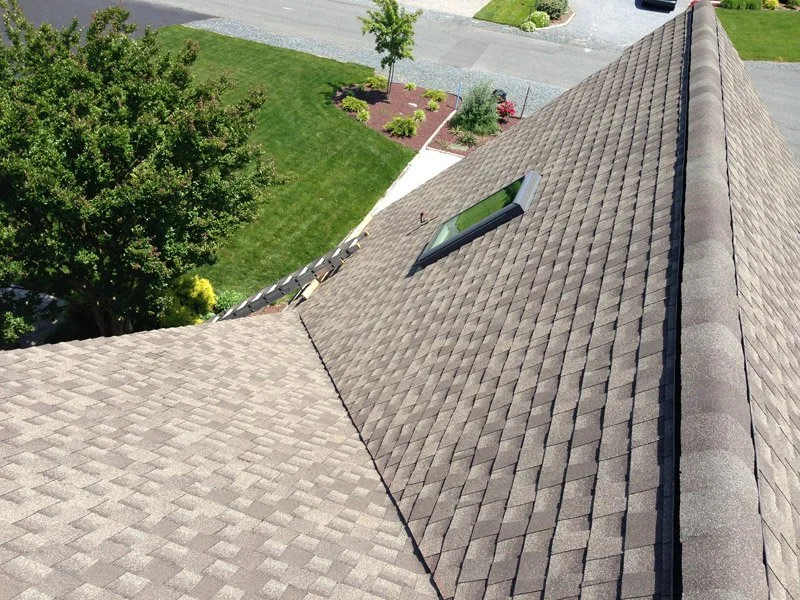
A leaking roof can quickly escalate from a minor inconvenience to a major headache—and one of the most common trouble spots is the roof valley. These valleys are the areas where two roof slopes meet and channel water off your home. Over time, wear and tear, poor installation, or storm damage can lead to a roof valley leak, which, if ignored, can cause water intrusion, mold growth, and costly structural damage.
Roof valleys are especially vulnerable to leaks due to how they channel water off the roof. But they’re not the only area prone to problems—chimneys, vent pipes, and skylights also frequently contribute to hidden roof leaks.
If you’re a Delaware homeowner noticing signs of water damage along interior ceilings or spotting water dripping near roof seams, your roof valley may be the culprit. The good news? With the right tools and guidance, repairing a roof valley leak can be manageable—even as a DIY project.
Why Roof Valley Leaks Are Serious
A small leak in your roof valley can create big problems if left unchecked. Water infiltration doesn’t just affect your attic—it can ruin drywall, insulation, electrical systems, and even the structure of your home.
Common signs of a roof valley leak include:
- Discoloration or water stains on interior ceilings or walls
- Damp insulation or musty odors in the attic
- Visible gaps or rust along valley flashing
The sooner you address these issues, the more likely you are to avoid expensive structural repairs down the line.
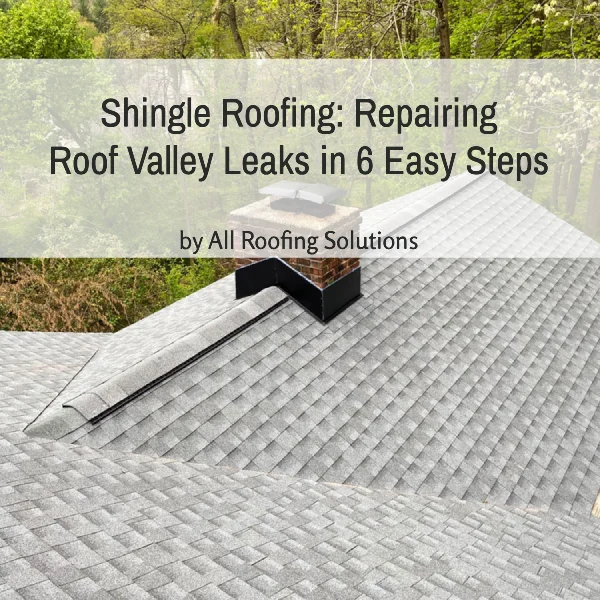
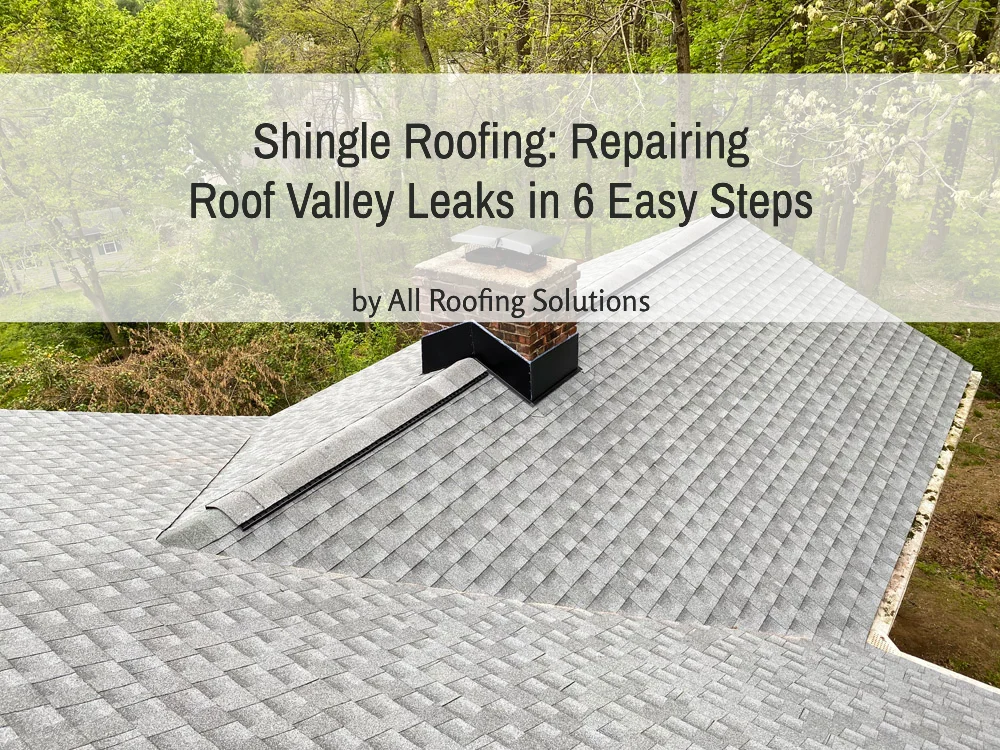
Shingle Roofing: Repairing Roof Valley Leaks in 6 Easy Steps
Here’s a clear, step-by-step guide to help you tackle roof valley leaks before they get worse.
Step 1: Clean & Prepare the Roof Valley
Before any repairs can begin, you’ll need a clean working area. Roof valleys often collect debris like leaves, pine needles, and dirt, especially after storms or during fall. This debris traps moisture and speeds up deterioration of shingles and flashing.
- Use a stiff brush or blower to clear both sides of the valley.
- Inspect the area for visible damage, rusted flashing, or missing shingles.
- Loosen nearby nails carefully with a pry bar to avoid cracking surrounding shingles.
- If your valley uses metal flashing, measure its width—it’s typically 14″, but check to ensure the replacement will match.
This prep work not only helps with visibility but prevents further damage during the repair process.
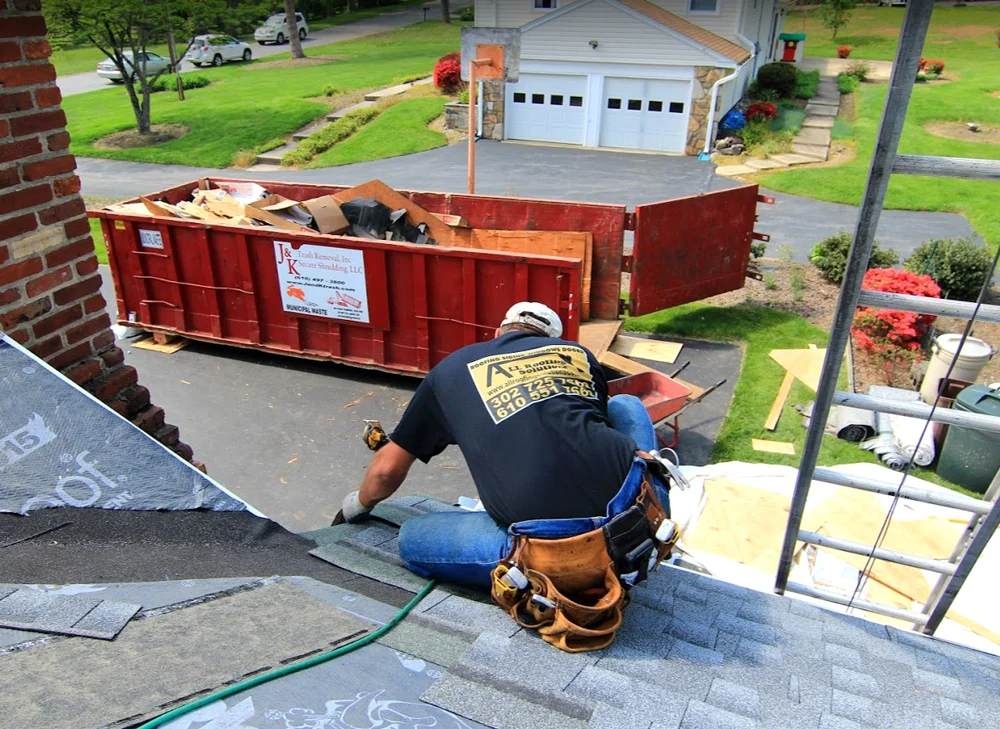
Step 2: Remove Damaged Shingles & Underlayment
Once the area is cleared, begin removing compromised shingles along both sides of the valley. Look for:
- Curled, cracked, or blistered shingles
- Water stains or soft spots on the roof deck beneath
- Underlayment that’s brittle or deteriorating
Damaged decking or underlayment should be removed and replaced before installing anything new. Your roofing materials are only as good as the surface they’re applied to—rotten or warped wood will shorten the lifespan of your repairs.
Step 3: Install New Valley Flashing
This step is critical. Flashing is the metal lining that acts as a waterproof barrier in the roof valley. Without it—or with damaged flashing—water can easily sneak beneath shingles and into your attic.
- Center the flashing in the cleaned valley, ensuring it follows the slope and sits flat.
- Use corrosion-resistant roofing nails every 12 inches along each edge (not in the center where water flows).
- If the valley is long, overlap flashing pieces by at least 12″ and seal the joints with roofing cement for watertight protection.
Delaware’s heavy rains and winter freeze-thaw cycles make high-quality flashing and proper installation even more important.
Step 4: Install Underlayment & New Shingles
Before you replace the shingles, apply a waterproof underlayment beneath the flashing and up each slope. This adds an extra layer of defense in case water seeps under the shingles.
Next, install new shingles over the valley edges:
- Extend shingles past the valley centerline, trimming as needed to maintain proper alignment.
- Avoid nailing into the valley itself—nails should be placed at least 6″ away from the center to avoid puncturing the flashing.
- Use manufacturer-recommended fasteners and placement patterns to maintain your warranty and ensure wind resistance.
Step 5: Seal and Secure Everything
Now that the shingles and flashing are in place, it’s time to reinforce the repair.
- Apply roofing sealant along the exposed edges of flashing.
- Seal all nail heads to prevent rust and water entry.
- Inspect the shingles to ensure they lie flat with no gaps or buckling.
Proper sealing extends the lifespan of your repair and protects against Delaware’s unpredictable weather—especially high winds and heavy rain.
Step 6: Test the Repair & Monitor
Once everything is installed and sealed, it’s a good idea to simulate a rainstorm:
- Use a garden hose to gently run water down the valley.
- Have someone inside the attic or upper floor check for drips or signs of seepage.
- If you still see signs of leaking, recheck flashing joints and shingle overlaps.
It’s also smart to monitor the area after the next few storms to ensure the repair holds up under real conditions.
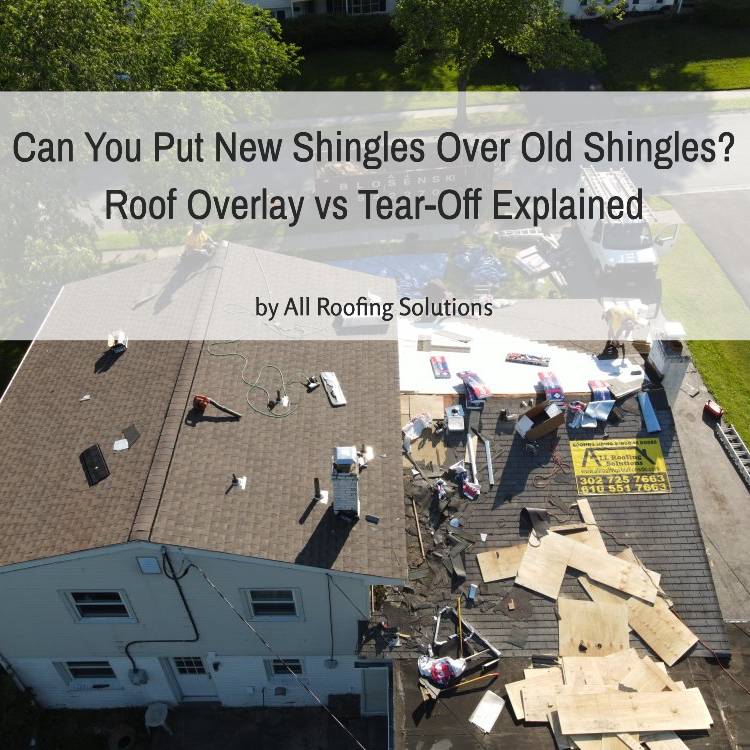
BONUS TIP: While repairing a roof valley leak can often be a DIY-friendly project, it’s important to consider the bigger picture. Sometimes, widespread deterioration or aging materials may require more extensive attention. If you’re wondering whether it’s time to repair or replace, our article on roof replacement myths can help separate fact from fiction.
Need Help With Repairing a Roof Valley Leak?
Whether you tackle it yourself or call in the pros, don’t wait—water damage only gets worse with time.
Repairing a roof valley leak takes experience, and is especially difficult on steep and tile roofs. If you encounter problems, be sure to consult reliable roofing professionals. We can handle these types of repairs quickly and easily, no matter what caused the leak in the first place
While many handy homeowners in Delaware can manage small-scale repairs, not all roof valley leaks are DIY-friendly. Consider calling a professional roofer if:
- The leak is persistent or severe
- The roof is steep or difficult to access safely
- You spot widespread damage to surrounding shingles or decking
And if you’re seeing recurring valley issues, it may be time to weigh repair costs against full replacement. For guidance, check out our breakdown of roof replacement costs in Delaware.
Why Chose All Roofing Solutions
- Family-owned and operated Delaware & Pennsylvania roofing contractor.
- Fully licensed and insured.
- Over 25 years of experience with roofing & siding installation and repair.
- A+ rated BBB member
- Complimentary Extended Material warranty
- 30-year workmanship guarantee on full roof replacements
- Lien Waiver to protect the homeowners from material liens
- Own crew—no subcontractors!
- Full-service roofer handling all types of residential and commercial roofing, windows & siding projects.
- Most re-roofing projects are completed in one day.
- Because we are efficient we are able to offer very competitive prices compared to large contractors with bigger overhead.
- Each roofing/siding project includes a meticulously performed, post-roofing inspection. We want to make sure that your roof replacement is done correctly and that it meets your complete satisfaction.
- The company owner supervises all projects to ensure high-quality workmanship.
- Customer Satisfaction Guaranteed!
Whether you need peace of mind or suspect a problem, we’re here to help you understand exactly where your roof stands. Call 302-725-ROOF (7663) in Delaware or 610-551-ROOF (7663) in Pennsylvania or fill out the form below.